Build Your Blog for Free
December 05, 2019
Below is a list of tools used to make this blog, it’s all free tools. If you do not feel like reading much, first is a summary. There is a beautiful map at the end.
TL;DR
- Built with Gatsby.
- Pushed on Github and hosted/deployed with Netlify.
- Posts are Markdown files.
- Cool stuff like d3 elements and visualizations are custom components.
- Some libraries are easy to use with React.js: ApexCharts via Loadable and React Simple Maps for example.
- Added ’buy me a coffee’ button
Setting up a blog with Gatsby is quick and easy
Blogging platforms like Medium have their limitations and nothing is more satisfying than hosting your own blog-app. So go ahead and try out Gatsby! I did setup the same starter as this tutorial : Tutorial starter blog Gatsby.
gatsby new [your-project-name] https://github.com/thomaswangio/gatsby-personal-starter-blog
cd [your-project-name]
gatsby develop
Gatsby is easy to implement for static sites, open source, and based on React You can use it to create a Medium clone, no paywallm your rules!
You can then go ahead, create a Github repo and use Netlify as per the Tutorial starter blog Gatsby It’s easy to spend more time than needed for styling of components but luckily there is a Gatsby tutorial for that as well.
git init
git add .
git commit -m "initial commit"
git remote add origin https://github.com/[your-username]/[your-repo-name].git
git push -u origin master
You can then use Markdown files “.md” plain-text with any editor
I love Sublime Text and Atom, but you can use your favorite IDE. Editing a post is very much like editing the Readme.md file in a GitHub repo. Some people also like to use browser-based editors like Dillinger.
Gatsby lets you bring your own data and use modern web tech easily.
I will not write about the data because the tutorial linked is easy to follow. Modern web tech is modular and comes for example in packages, that can be installed with a package manager like yarn. For example, the work of a genius such as Mike Bostocks from libraries such as d3.js and notebooks on ObservableHQ are fantastic reuseable tools for any Gatsby blog! Gatsby allows to add and use dependencies (such as d3) easily. In general, a package is simply a folder with code and a package.json file that describes the contents.
cd [your-project-name]
yarn add [package-name]
Reusing components through React
React has its own logic, components are the heart of it. They are buidling blocs like legos that render into “.html” files into post pages on the blog. You can call a react component from the posting pages using the synthax (directly in your .md file!!).
blabla

<YourComponent></YourComponent>

blabla
You can build up a component, for example one that uses a database, just like in Gatsby tutorial. and export it from a file saved in the [your-project-name]/src/components directory. You can name that file “your_component.js” for example.
You can then edit your ”blog-post.js” file in the ”[your-project-name]/src/templates” directory such that you import your component:
import YourComponent from '../components/your_component';

class BlogPostTemplate extends React.Component {
  render() {
    ...
    const shortcodes = {
     YourComponent
    };
    return (
      <Layout location={this.props.location} title={siteTitle}>
      ...
        <MDXProvider components={shortcodes}>
          <MDXRenderer>{post.body}</MDXRenderer>
        </MDXProvider>
      ...
      </Layout>
    )
  }
}
Examples of libraries that work well.
I personally loved using Apexcharts.js as an easy-to-use, React friendly, interactive charting library that is somewhat customizable. I used it on this post about using a weather API. However it requires to load client-side dependent ”@loadable/component” which you can quickly add:
cd [your-project-name]
yarn add @loadable/component
And it requires the following synthax in your ”your_component.js” file that is saved in the ”[your-project-name]/src/components” directory:
import React from "react"
import Loadable from '@loadable/component'
import ApexCharts from 'apexcharts';

class YourComponent extends React.Component {
  render() {
    return (
      <>
        <LoadableChart
          options={{...}}
          series={[...]}
        />
      </>)
  }
}

export default YourComponent

// import react-apexcharts here
const LoadableChart = Loadable(() => import('../../node_modules/react-apexcharts/src/react-apexcharts'));
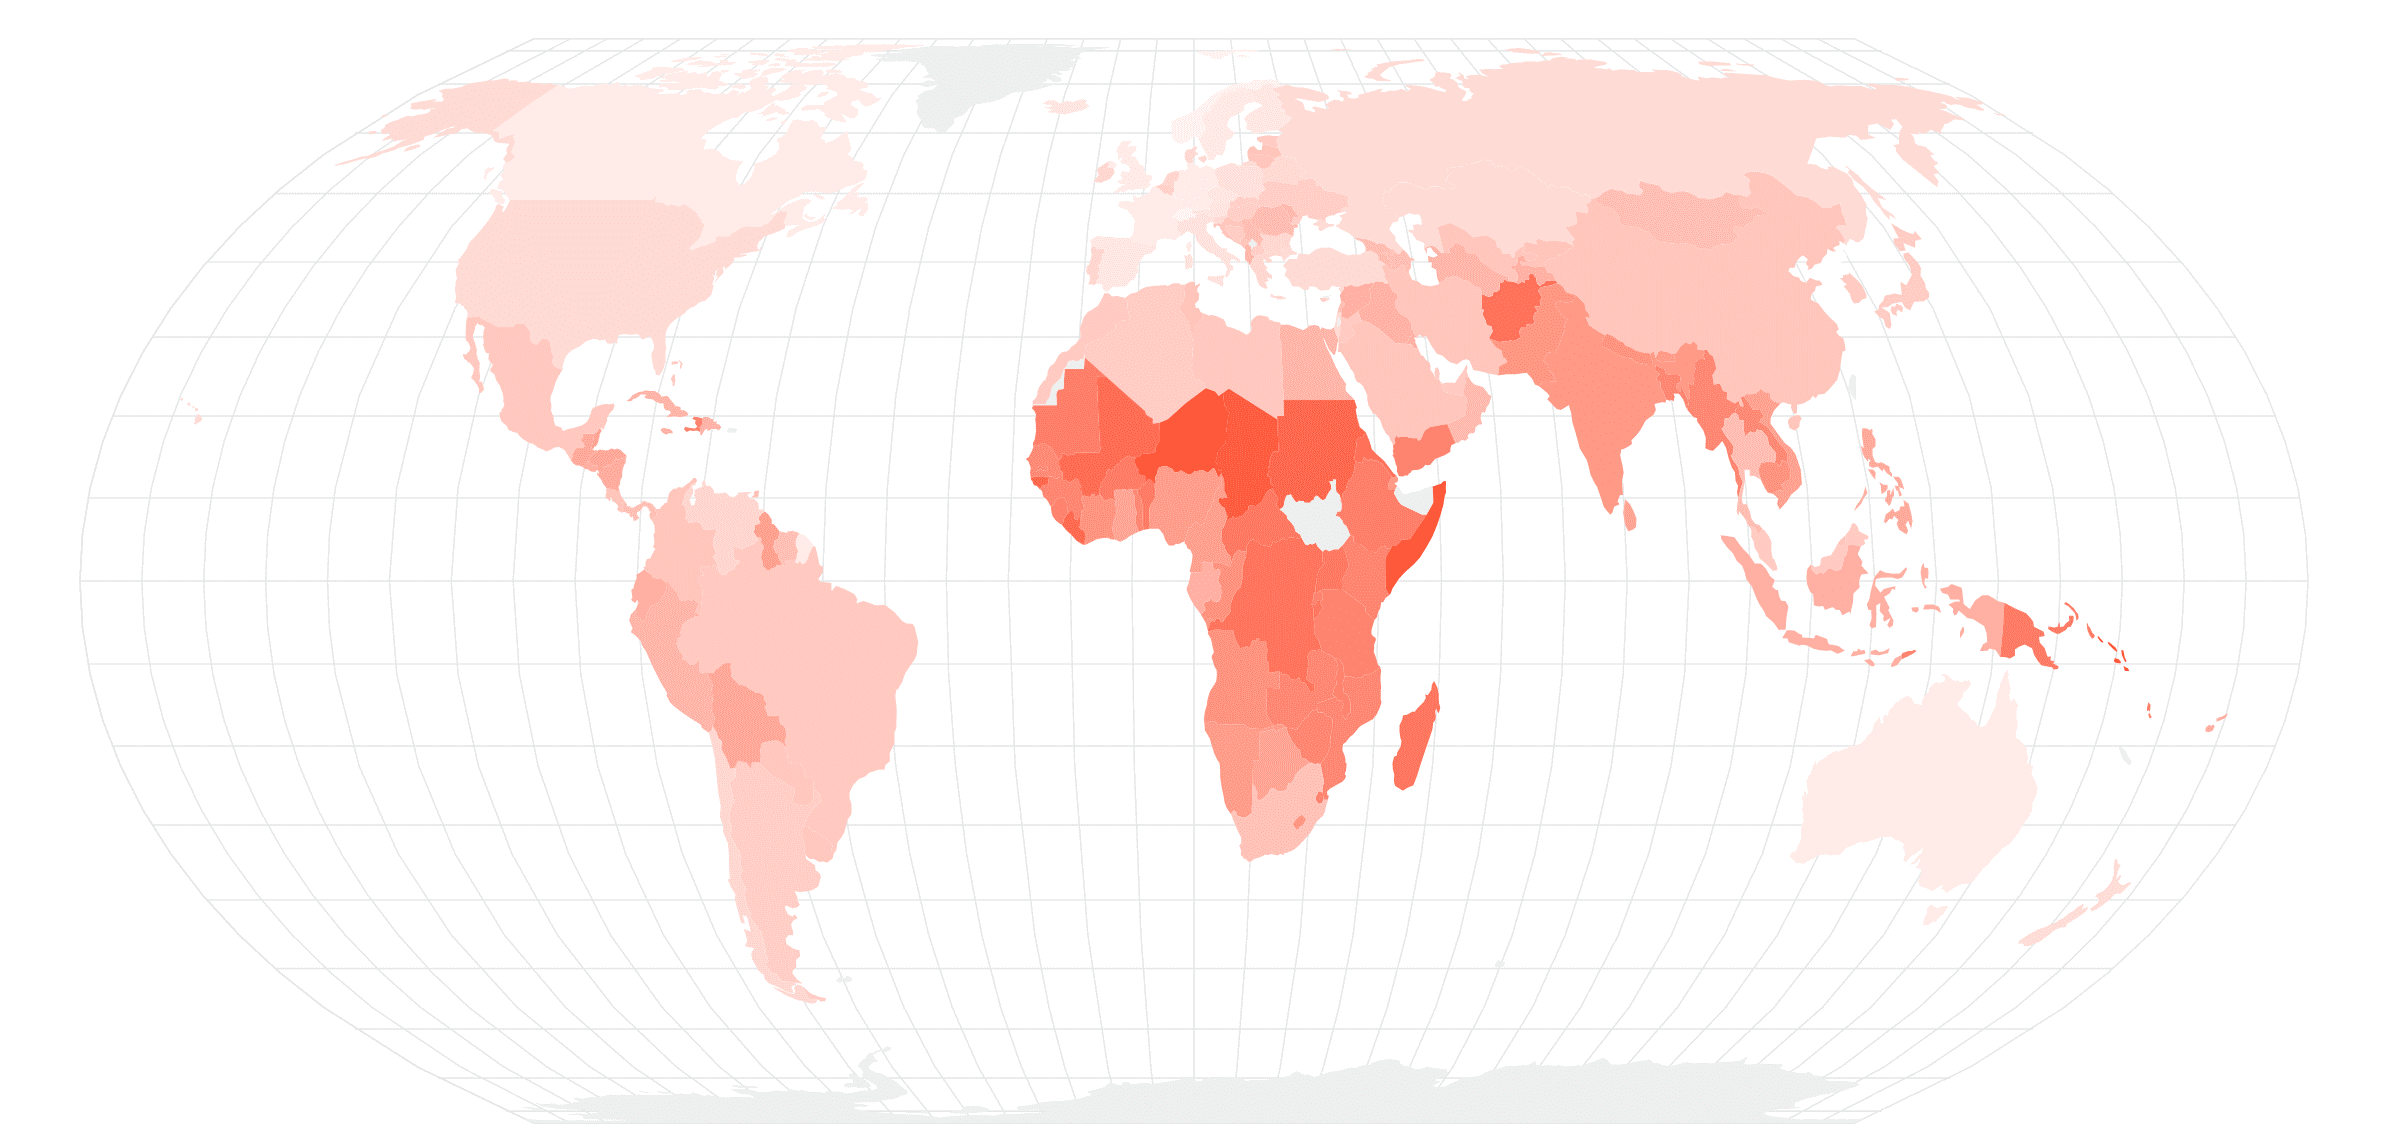
Another awesome visual component out-of-the-box that works well with React and Gatsby is “react-simple-maps”. Maps are awesome and I used it in the post about temperature comparison between US cities.
cd [your-project-name]
yarn add react-simple-maps@beta
There is some logic on top of it in the post, but the basic component is straight forward. In the file ”[your-project-name]/src/components/your_component.js” you can use:
import React from "react"
import {
  ComposableMap,
  Geographies,
  Geography,
} from "react-simple-maps"

class YourComponent extends React.Component {

  render() {
    return (
      <>
        <ComposableMap
          projection="geoAlbersUsa"
          ...
          >
          <Geographies geography={"../../file_map.json"}>
            {({geographies}) => geographies.map(geo =>
              <Geography
                  key={geo.rsmKey}
                  geography={geo}
                  ...
              />
            )}
          </Geographies>
        </ComposableMap>
      </>)
  }
}

export default YourComponent
And voila! A beautiful map! In a React component, interactive and customizable.
Last but not least, I added some buymeacoffee type buttons using https://www.buymeacoffee.com/ they are a cool YCombinator startup that helps content creator and are super easy to implement, check them out!
Have fun building your blog!
